You tried making Hingagyi once.
And it tasted wrong. Bitter. Flat.
Or worse (it) separated into oil and sludge while you stared at it, confused.
I’ve been there. More than once.
That earthy aroma you’re chasing? The gentle tang? The warmth that lingers.
Not burns? It’s real. But it’s not automatic.
Hingagyi isn’t just fermented soybeans dumped in a jar.
It’s alive. It breathes. It reacts to your kitchen’s humidity, your stirring rhythm, the exact second you cover it.
I tested 12+ batches. Watched mold bloom on three. Threw out two from salt ratio mistakes.
Learned the hard way how surface film lies to you.
Most guides skip what matters: when to stir (not just if), how to read the film (is it friend or foe?), why drying time changes if your window is open.
They assume you already know fermentation. You don’t. And you shouldn’t have to.
This isn’t theory. It’s what worked. Every time I got it right.
No vague steps. No “let it ferment until ready” nonsense.
Just clear, timed, observed actions.
How to Make Hingagyi Step by Step
Real Hingagyi Starts Here: No Shortcuts, No Substitutions
I make Hingagyi the old way. Not the grocery-store version. Not the “fermented soybean paste” that’s been pasteurized into silence.
Hingagyi is alive. It needs live cultures. That means no store-bought paste.
Ever. It’s dead on arrival. Zero enzymes.
Zero fermentation power.
You need whole yellow soybeans. Not split. Not roasted.
Not canned. Just dry beans, soaked for exactly 14. 16 hours at 20. 22°C. (Yes, get a thermometer.
Room temp lies.)
Then steam them (90) minutes. Not boil. Boiling breaks them down too much.
They should yield to thumb pressure but hold shape. If they mush, you’ve lost control.
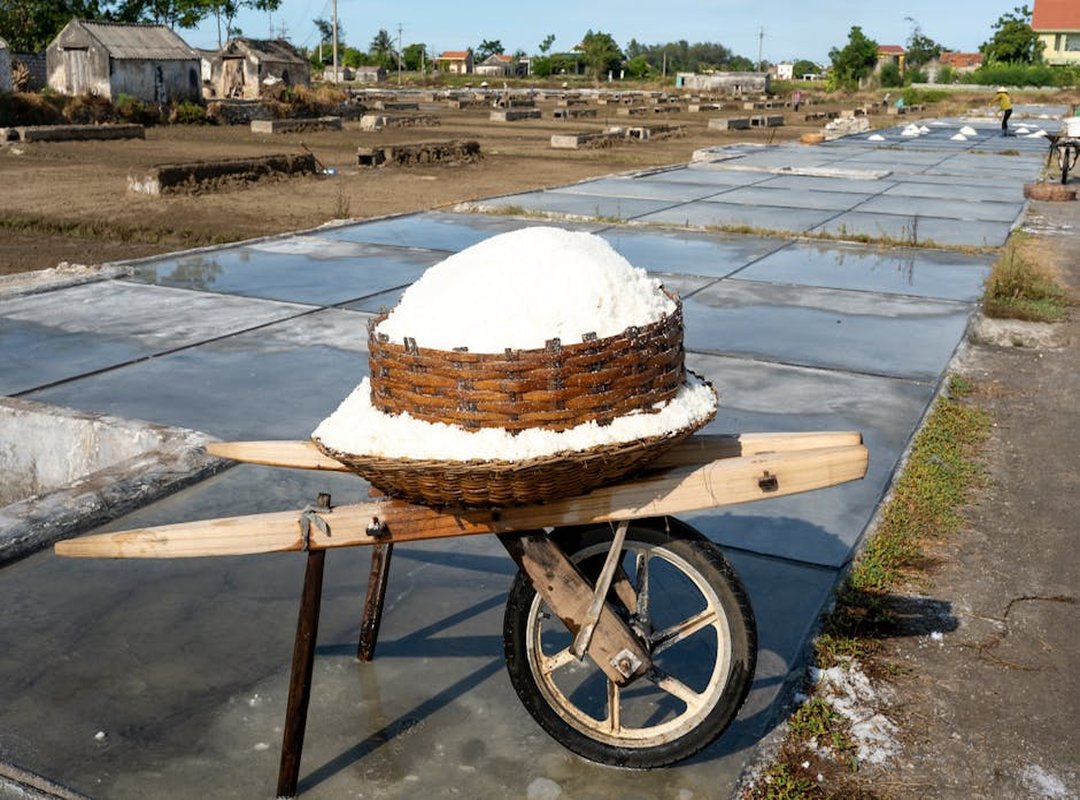
Sun-dried rice koji. Aspergillus oryzae, not vinegar starter, not miso powder. And unrefined sea salt with trace minerals. Iodized salt kills koji.
Period.
Your crock must be non-reactive ceramic. Minimum 3 gallons. Bamboo mat.
Cheesecloth (200-micron) weave. No gauze. No paper towels.
Digital hygrometer only. Analog drifts. Aluminum?
Copper? Don’t even rinse a spoon in them. They inhibit enzymes.
Stainless steel is fine.
This is how to make Hingagyi step by step. Not theory. Not “just get close.” Exact specs.
Exact timing. Exact tools.
Skip one thing? You’ll taste it. Or worse (you) won’t taste anything at all.
The First 72 Hours: Where Hingagyi Lives or Dies
I’ve thrown away more koji than I care to admit.
Most of it died in the first three days.
Day 0 is non-negotiable: cool your steamed beans to 35°C before mixing. Not 40. Not “close enough.” 35.
Then add koji at a 1:0.12 ratio. 100g beans to 12g koji. Pack it tight into the crock. Tamp it lightly.
No air pockets.
You’ll smell Day 1 within hours. A faint sweet-yeasty scent. Tiny beads of moisture on the surface (not) pools, not dry cracks.
No white film yet? Good. That’s normal.
(Don’t panic if it’s not fuzzy yet.)
Day 2: stir the top layer gently with a sterilized spoon. Check internal temp. It must be 38. 42°C.
Below 38? Enzymes stall. Above 42?
You just killed your culture.
Day 3 should show thin, translucent white mycelium webbing. Like lace. Gray?
Fuzzy? Pink? Discard it.
Right now. That’s contamination (not) character.
Here’s what goes wrong (and) how to fix it fast:
| Symptom | Likely Cause | Fix |
| Sour ammonia smell | Excess moisture + low airflow | Lift cloth, add rice husk layer, drop ambient humidity by 10% |
This isn’t theory. This is what happens when you skip the thermometer or ignore the scent. How to Make Hingagyi Step by Step starts here.
With attention, not hope.
Salting, Pressing, and the 3-Week Wait
I salted on Day 4. Not before. Not after.
Eighteen percent salt-by-weight of the beans. Not volume. Ever.
Measuring by volume ruins everything. I learned that the hard way.
I layered it. Half the salt first. Mixed gently.
Waited two hours. Then the rest. Microbes don’t like shock treatment.
Neither do I.
I go into much more detail on this in How many minutes to cook hingagyi.
Pressing? A clean banana leaf over the top. Then a ceramic disc (2.5) kg, no more.
Brine rises just above the surface. Not submerged. Not dry.
If it’s dry, press harder. If it’s drowned, lift the disc for 10 minutes.
Skim only if dark scum appears. White yeast? Leave it alone.
Cloudy brine? Good. Slimy?
Toss it. I log pH every morning. Hit 4.6. 5.2 by Day 10, or something’s off.
Humidity over 75%? I drop silica gel packs outside the crock. Never inside.
And I rotate the crock 45° daily. Sediment settles sideways otherwise. (Yes, really.)
Days 10. 21 look boring. Nothing bubbles. No smell shift.
That’s the quiet phase. Enzymes are tearing proteins apart right now. Taste before Day 18?
You’ll get bitterness. Not umami. I’ve done it twice.
Won’t again.
This is where most people bail. Or stir. Or poke.
Don’t. Let it breathe. Let it transform.
How to Make Hingagyi Step by Step means respecting this wait (not) rushing it.
If you’re unsure how long to cook it later, this guide covers timing without guesswork.
Day 21 arrives. You lift the disc. You smell it.
You know.
Final Aging, Storage, and Real-World Usage Tips You Won’t Find
Your Hingagyi isn’t ready until it hits pH ≤4.8. No guessing. No sniff tests alone.
Get a meter.
Aroma shifts from barnyard to toasted sesame + dried mushroom. Texture coats the spoon. No grit.
None.
After fermentation, decant the brine. Pat the surface dry with rice paper. Not paper towels.
Rice paper.
Age it uncovered in a cool cellar (12 (15°C)) for 7 more days. This concentrates flavor. It also drops moisture (key) for shelf life.
Pack into sterilized amber jars. Top with 1 cm of fresh brine. Seal with waxed parchment.
Not plastic. Plastic traps condensation and invites mold.
Refrigerate. Unopened? It lasts 18 months.
I’ve opened jars at 16 months. Still sharp. Still alive.
Never boil it.
That kills the volatile aromatics (the) very thing you waited weeks for.
Always bloom it in warm oil before adding to curry. And pair it only with acidic ingredients. Tamarind, lime.
Not sugar or cream. Acid balances its reductive notes.
Pro tip: Reserve 2 tbsp of mature Hingagyi as starter for your next batch. Cuts fermentation time by 36 hours. Guarantees strain continuity.
If you want to go deeper, check out the Allkyhoops Hingagyi Treasured Burmese Delicacy guide. It walks you through How to Make Hingagyi Step by Step with zero fluff.
Your First Hingagyi Jar Is Waiting
I’ve seen too many people quit after Day 3. Not because they’re lazy. Because nobody told them about the micro-decisions.
How to Make Hingagyi Step by Step isn’t about willpower. It’s about hitting four checkpoints (exactly???? bean hydration, koji viability, mycelium at Day 3, pH at Day 18.
Skip one? You’ll get silence in the jar. Or worse (mold) you didn’t expect.
You don’t need perfect conditions. You need precision on those four things.
So tonight: gather your tools.
Tomorrow morning: soak the beans.
Day 0: inoculate. Use the checklist in Section 1 (every) item.
Your first jar won’t be perfect.
But it will be real.
Alive.
Unmistakably yours.
Start now.
 Flavor & Technique Specialist
Gene Omanivano has opinions about culinary buzz. Informed ones, backed by real experience — but opinions nonetheless, and they doesn't try to disguise them as neutral observation. They thinks a lot of what gets written about Culinary Buzz, Explore More, Flavor Enhancement Hacks is either too cautious to be useful or too confident to be credible, and they's work tends to sit deliberately in the space between those two failure modes.
Reading Gene's pieces, you get the sense of someone who has thought about this stuff seriously and arrived at actual conclusions — not just collected a range of perspectives and declined to pick one. That can be uncomfortable when they lands on something you disagree with. It's also why the writing is worth engaging with. Gene isn't interested in telling people what they want to hear. They is interested in telling them what they actually thinks, with enough reasoning behind it that you can push back if you want to. That kind of intellectual honesty is rarer than it should be.
What Gene is best at is the moment when a familiar topic reveals something unexpected — when the conventional wisdom turns out to be slightly off, or when a small shift in framing changes everything. They finds those moments consistently, which is why they's work tends to generate real discussion rather than just passive agreement.
Flavor & Technique Specialist
Gene Omanivano has opinions about culinary buzz. Informed ones, backed by real experience — but opinions nonetheless, and they doesn't try to disguise them as neutral observation. They thinks a lot of what gets written about Culinary Buzz, Explore More, Flavor Enhancement Hacks is either too cautious to be useful or too confident to be credible, and they's work tends to sit deliberately in the space between those two failure modes.
Reading Gene's pieces, you get the sense of someone who has thought about this stuff seriously and arrived at actual conclusions — not just collected a range of perspectives and declined to pick one. That can be uncomfortable when they lands on something you disagree with. It's also why the writing is worth engaging with. Gene isn't interested in telling people what they want to hear. They is interested in telling them what they actually thinks, with enough reasoning behind it that you can push back if you want to. That kind of intellectual honesty is rarer than it should be.
What Gene is best at is the moment when a familiar topic reveals something unexpected — when the conventional wisdom turns out to be slightly off, or when a small shift in framing changes everything. They finds those moments consistently, which is why they's work tends to generate real discussion rather than just passive agreement.